
Period Pieces
The following architectural styles- form the Georgian to Colonial Revival- inspired the creation or popular adaptation of many of the architectural details available to homeowners today:
Georgian style was marked by stout columns, bold cornices and aeches, and other classical feetures, such as doorways trimmed with pilasters and pediments or entsblatures.
Fireplaces were adorned with classical details as well.
Federal style used slender columns or pilasters supporting graceful eliptical arches, and wall friezes that were patterned on botanical themes.
Ceilings often held medallions.
Greek Revival walls were adorned with a large baseboard and cornice molding. Tall walls were trimmed with fairly plain reeded or fluted molding.
Victorian rooms were full of ornament, using darkstained woods like oak and mahogany. Ceilings were often bordered by a bold cornice.
Tripartite arrangements, in which a baseboard, chair rail, and picture rail created three distinct areas, were common.
The Craftman period preferred simplicity and harmony over excessive ornamentation. Craftsman interiors were open-plan yet extremely cozy, with rooms in main living areas being divided by beautiful wood columns. Wainscoting was often used.
Colonial Revival had minimal woodwork-simple baseboards and crown moldings, perhaps a chair rail, and plain door and window trim.
Dressing Up Clamshell Casings
Most mordern homes have ranch or clamshell molding, designed to have a plain, steamlined profile. if you don’t want to replace it with more architecturally ornate molding.
you can add visual interest to basic molding by contrasting its color from the walls. If you’ ve used a flat paint on the wall, use a high gloss on the molding to provide visual interest. Special paint treatments, like spinging or marbleizing, can also give clamshell character.
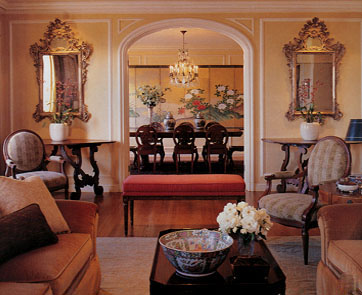 |
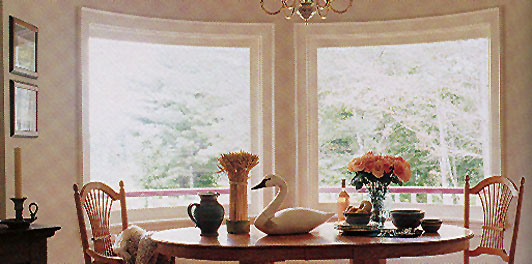
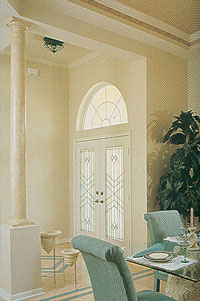
An arched passageway creates a counterpoint to the linear wall frames. |
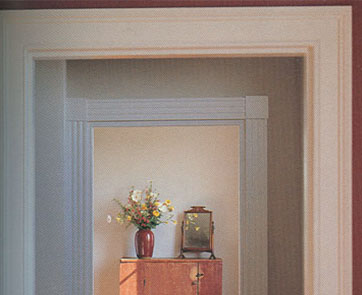 |
Pilaster style door casing adds a special feel to this doorway. |
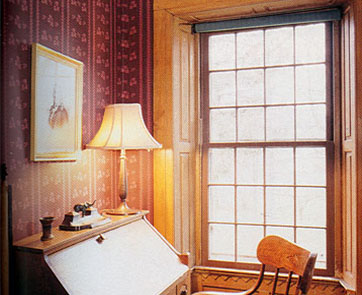 |
Building up trimwork turns a double hung window into a focal point. |
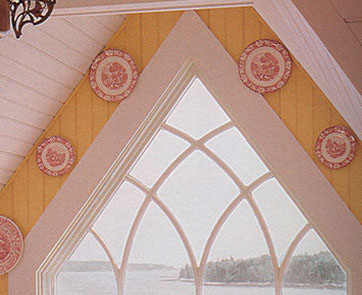 |
Arching grill work and angular casing dress up this ornate window even more. |
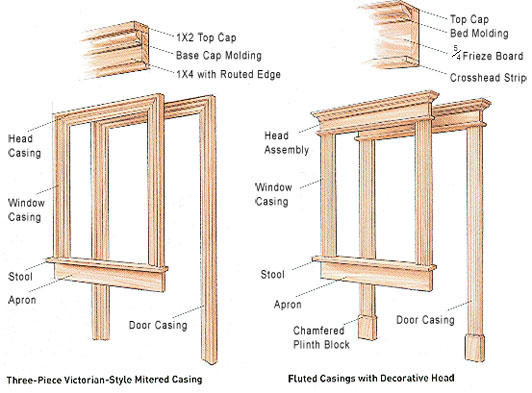
Components of Door and Window Surrounds
Design Tip Crown Molding and Ceiling Height
You might be concerned that extensive trimwork will make small rooms feel even smaller. In fact, the opposite occurs. Through a phenomenon called “geometric illusion,” trimwork often makes a romm appear lager and wider. Long horizontal lines, for example, can cause an observer to feel that a room is longer or wider than it really is. Likewise, long vertical lines can make a low ceiling appear higher than it actually is.
Tips for Trimwork
 |
Remove Trim Removing and installing moldings — a job builders call “finish carpentry” — isn’t especially difficult, but there are a few tricks to the trade. Here’s how to get your interior trim project across the finish line. |
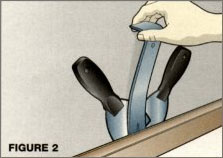 |
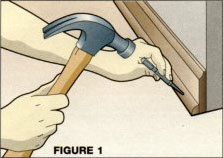
Off with the old: How to remove trim Prey off old moldings with care, lest you damage the wall behind the millwork (and the trim itself, if you plan to reuse it). If the trim has been painted, first cut along its edges with a utility knife to break the seal between the molding and the wall. The easiest way to save a base shoe without breaking it is to drive its finish nails all the way through with a nail set, as shown in Figure 1. With wider elements, such as baseboards, crown moldings, and the like, first drive a pair of taping knives behind the molding, then work a pry bar between the knives and molding, as shown in Figure 2. The knives ensure that the pry bar won’t gouge the walls. After you’ve loosened a few inches, wedge the molding away from the wall with a shim, then move along, prying and wedging as you go. |
 |
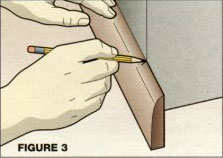
Mark Corners The best way to mark outside corners Whenever possible, hold a piece of molding in place and mark it, as shown in Figure 3. This method provides greater accuracy than you’ll get with a tape measure, and also lets you indicate the direction of the miter you need to cut. |
 |
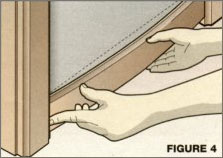
Ensure a Tight Fit How to ensure a tight fit Install door and window casings and other vertical trim before you fit horizontal elements, such as baseboards and chair rails. Mark and cut these pieces about 1/16 inch longer than the space. If you’re butting against a piece of casing, make sure it’s well-secured so it won’t move when you press against it. Install the horizontal pieces by bowing it into position, as shown in Figure 4. This will give you a tight fit at each end. |